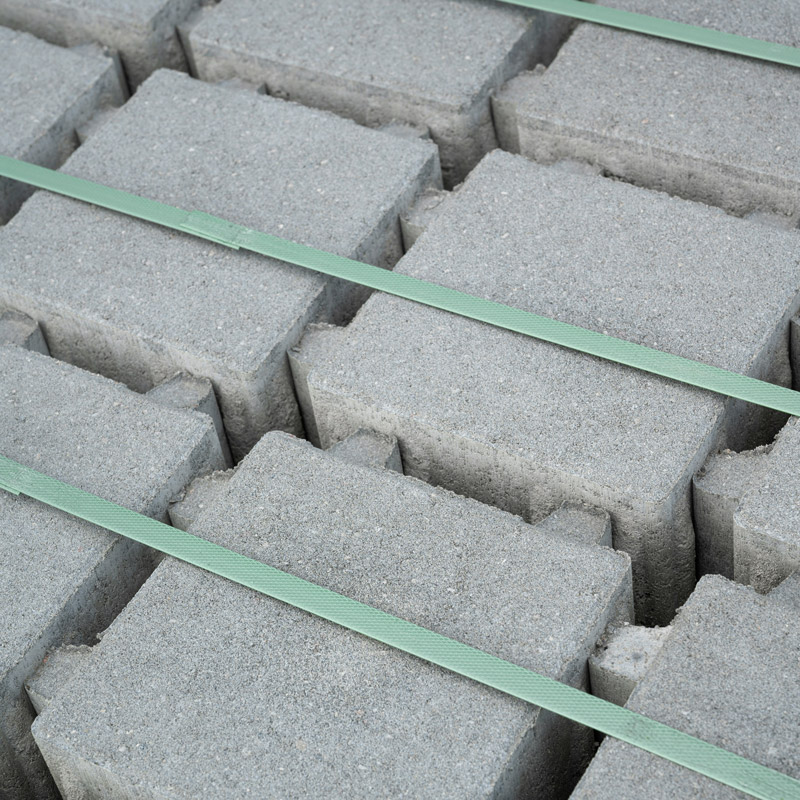
The Unsung Hero of Your Patio: Why the Right Sand is Your Foundation for Success
Many homeowners invest significant time and effort into creating a beautiful paver patio, only to see it fail within a few years. When pavers sink, become uneven, or are overrun with weeds, the cause is almost never the pavers themselves. The failure lies in a fundamental misunderstanding of the materials beneath them. The selection of the correct sand and aggregate for each layer is the single most important factor in a project’s long-term success, stability, and aesthetic appeal—especially for hardscape projects across California.
A successful paver patio is an engineered system, not just stones on the ground. Each layer has a distinct and critical function, and working with the right sand supplier and gravel supplier in California ensures every component performs as intended:
The Aggregate Base: The structural foundation that provides strength, distributes weight, and manages drainage.
The Bedding Sand: A thin, precise leveling course that provides a uniform cushion for setting the pavers.
The Jointing Sand: The final component that locks the pavers together, creating a unified surface while preventing water intrusion and weed growth.
These layers are interconnected; a weakness in one will compromise the entire structure. Understanding this “system mentality” is the first step toward building a paver patio that endures for decades. A professional-grade installation is designed to be both incredibly strong and slightly flexible, allowing it to withstand foot traffic, heavy furniture, and California’s varied soil and climate conditions without cracking or heaving.
Layer 1: The Aggregate Base – Your Patio’s Bedrock
The aggregate base is the most critical structural component of any paver project. An improperly specified or poorly compacted base is the leading cause of major paver failures, including sinking and shifting. The effectiveness of a base material is determined by its particle shape (angularity) and size distribution (gradation). A high-quality aggregate base is an engineered mixture of various-sized, angular crushed stone particles, from 3/4-inch rock down to fine dust. When compacted, these jagged edges interlock to create an incredibly dense and stable matrix that resists movement—making it the preferred choice for bulk gravel and bulk rock installations in California.
FST Sand & Gravel Product Spotlight: Choosing Your Foundation
As a trusted sand and gravel supplier serving California, FST Sand & Gravel provides professionally specified base materials designed to meet the demands of any paver project.
Crushed Aggregate Base / Class 2 Base: This is the industry-standard solution for most paver applications. Composed of a precise blend of crushed rock and fines, it is engineered for maximum compaction and stability, creating a rock-solid foundation for patios, walkways, and driveways. This material is ideal for customers looking for bulk gravel for sale or bulk rock for sale in California.
Class 2 Permeable Base: This high-performance alternative is designed for superior drainage. This material consists of crushed, angular rock but contains minimal fines, creating an “open-graded” composition that allows water to pass through freely. It is the ideal choice for projects in regions with heavy rainfall or sites with poor-draining clay soil—a common challenge throughout many California landscapes.
French drains, backfill behind retaining walls, bedding for large pipes.
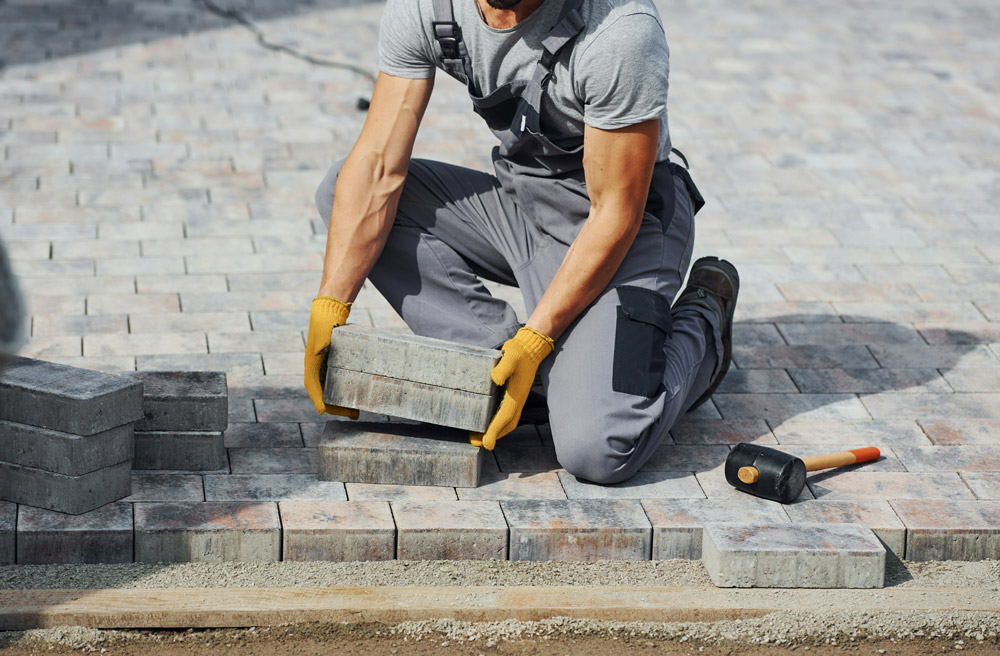
Layer 2: The Bedding Sand – Creating a Perfectly Level Surface
After the aggregate base is compacted, a 1-inch layer of bedding sand is screeded across the surface. This layer’s purpose is exclusively for leveling; it does not provide structural support. A common mistake is to create a bedding layer thicker than 1 inch, which leads to an unstable foundation and shifting pavers.
The industry standard is a coarse, washed concrete sand, such as FST Sand & Gravel’s Wash Con, a premium sand for sale sourced for California projects. Its properties are ideal for a durable installation:
Coarse and Angular: The sharp edges of concrete sand allow the grains to interlock, creating a firm setting bed that resists movement once compacted.
Washed: “Washed” means that fine silt and clay particles have been rinsed away. This is critical because fine particles retain moisture, which can freeze and expand in cold climates, causing pavers to heave. Washed sand allows water to drain freely into the aggregate base. Choosing the right bulk sand from a reliable sand supply company makes all the difference.
Avoid using cheaper alternatives like playground sand or mason sand. Their fine, rounded particles will not interlock, leading to rocking pavers and eventual project failure.
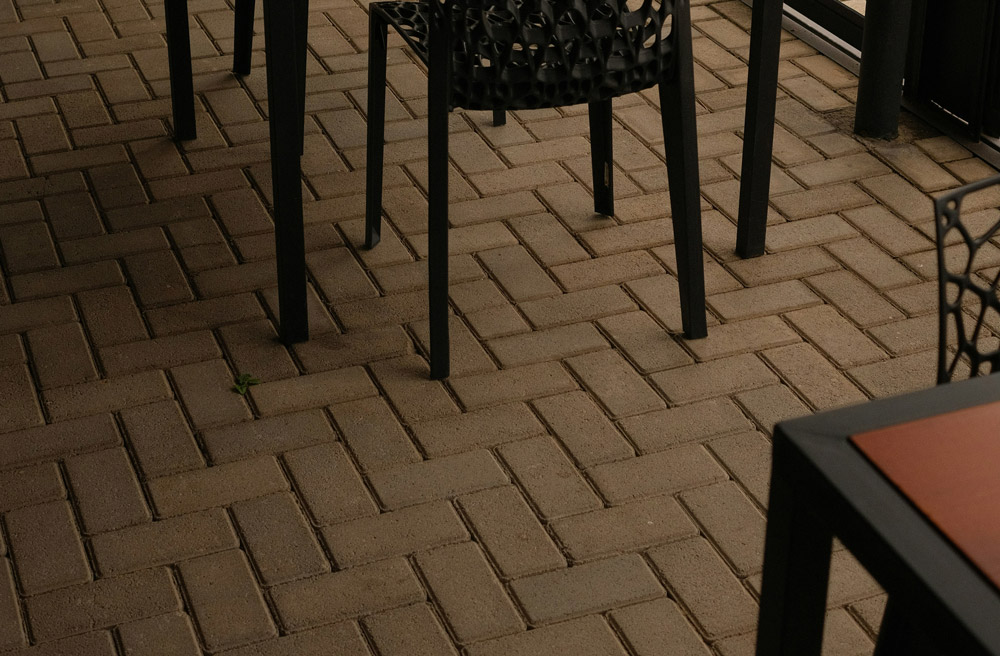
Layer 3: The Jointing Sand – Locking It All Together
The final application of sand is in the joints, which transforms individual stones into a unified, interlocking system. While traditional loose-fill sand is inexpensive, it easily erodes and allows weeds and ants to thrive.
For a durable, low-maintenance finish, professionals use polymeric sand—a popular choice for long-lasting paver installations throughout California. This advanced product is a mixture of fine sand and special polymer binders that, when activated with water, cure to form a firm, yet flexible, bond.
The Unmatched Advantages of Polymeric Sand
Durability and Stability: The hardened bond resists erosion from rain and wind, locking pavers securely in place.
Weed and Pest Prevention: The solid barrier is extremely hostile to weeds and deters ants from tunneling.
Low Maintenance: By preventing sand washout and inhibiting weed growth, polymeric sand dramatically reduces long-term upkeep.
Pro Tips for a Flawless Polymeric Sand Installation
High-performance polymeric sand demands a precise installation. Avoid common failures by following these key steps:
Work on a Bone-Dry Surface: The pavers and joints must be completely dry before you begin. Applying sand to a damp surface will activate the polymers prematurely, causing a permanent “poly haze” stain.
Compact the Sand: After the first sweep-in, run a plate compactor over the pavers. This settles the sand deep into the joints, eliminating air pockets and preventing future sinking. Top off the joints with more sand afterward.
Clean Meticulously Before Watering: Use a leaf blower on a low setting to blow all excess sand and fine polymer dust off the paver faces before activation. This is the most critical step to prevent hazing.
Water Correctly: Use a hose nozzle set to a gentle “shower” and make multiple light passes. The goal is to saturate the joint through its entire depth without flooding the surface. Too little water creates a weak crust, while too much washes the polymers away.
A Step-by-Step Guide to Perfect Paver Sand Installation
Excavation & Sub-Base Prep: Excavate 7 inches for patios or up to 13 inches for driveways, ensuring a slope of at least 1/4 inch per foot for drainage. Compact the native soil with a plate compactor.
Aggregate Base Installation: Spread FSTsand.com Class 2 Base (or Class 2 Permeable for high-drainage needs) in 2 to 3-inch layers. Lightly moisten and compact each layer thoroughly before adding the next.
Bedding Sand Screeding: Use 1-inch pipes as guides to screed a perfectly smooth, 1-inch thick uncompacted bed of FSTsand.com Wash Con.
Laying Pavers: Lay pavers on the sand bed using the “click and drop” method. Do not slide them. Work from multiple pallets to blend colors.
Edge Restraint: Install a durable edge restraint system around the perimeter, spiked securely into the aggregate base.
Initial Compaction: Run a plate compactor with a protective pad over the entire surface to settle the pavers firmly into the bedding sand.
Joint Sand Application: Sweep polymeric sand into the joints, compact the surface again, and top off the joints. Meticulously clean all excess sand and dust from the paver surface with a leaf blower.
Activation & Curing: Gently shower the surface with water to activate the polymers. Allow the patio to cure, restricting traffic for 24-72 hours per the manufacturer’s instructions.
Long-Term Patio Care: Maintaining Your Investment
A properly installed paver patio is low-maintenance, but not no-maintenance. Regular care will prevent small issues from becoming large problems.
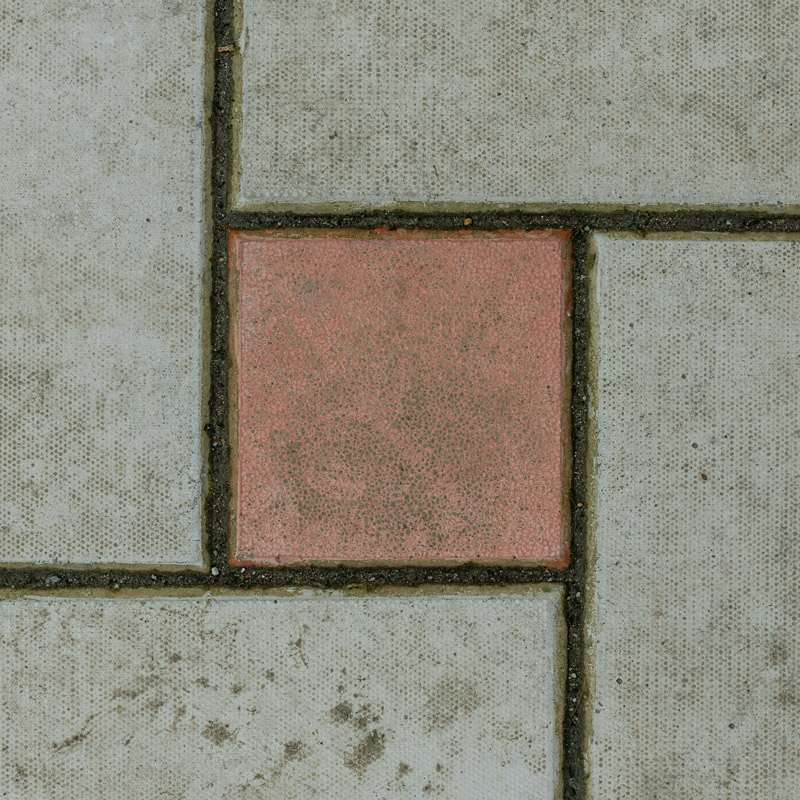
Cleaning and Joint Maintenance: Regularly sweep the surface to remove debris that can harbor weed seeds. For stains, use a mild detergent and a soft-bristle brush; avoid harsh acids. If joints become empty over time, clean them out and reapply new polymeric sand to the full depth of the paver.
Understanding Efflorescence: A white, chalky residue called efflorescence may appear on new pavers. This is a natural and harmless phenomenon caused by salts migrating to the surface. In most cases, it will wear away on its own with exposure to rain. To speed up removal, you can scrub the surface with a stiff, non-metallic brush and water or use a commercial efflorescence cleaner.
Build with Confidence with FST Sand & Gravel
A successful, long-lasting paver patio is an engineered system of materials. From the load-bearing aggregate base to the precision bedding sand and the final locking joint sand, each layer is indispensable. Compromising on quality jeopardizes the entire project.
As a leading sand supplier and gravel supplier in California, FST Sand & Gravel provides the complete system of engineered aggregates for a flawless installation. Our products, from the structural Class 2 Base and high-drainage Class 2 Permeable to the industry-preferred Wash Con bedding sand, are produced to meet rigorous standards.
Looking for sand for sale, bulk sand, bulk gravel, or bulk rock for sale in California?
Contact FST Sand & Gravel today to get a quote on the complete material system for your next paver project and build with confidence from the ground up.
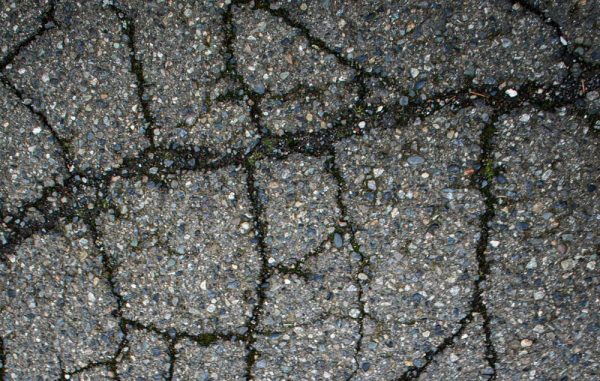
In the high-stakes world of transportation infrastructure, the public eye is almost exclusively focused on the surface. However, for Civil Engineers (PE), CalTrans officials, and pavement design consultants, the reality is far more complex. The structural integrity of Southern California’s logistical arteries—from residential streets to massive freight corridors—is not determined by the wearing course. It&hellip
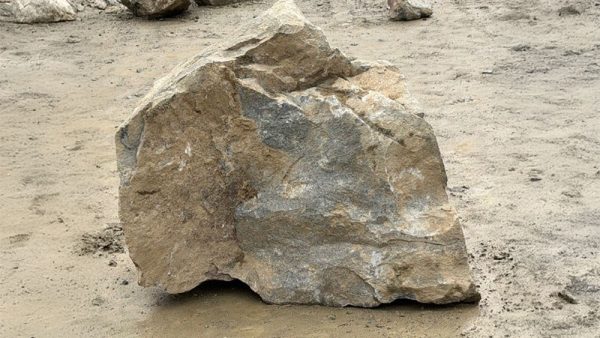
1. What is RIP RAP (Armor Stone) and Why is Specification Critical? RIP RAP, often referred to as Armor Stone, is a foundational material in heavy civil engineering and infrastructure protection. It consists of layers of high-quality, dense, and durable rock strategically placed to shield soil and underlying structures from the erosive forces of water&hellip
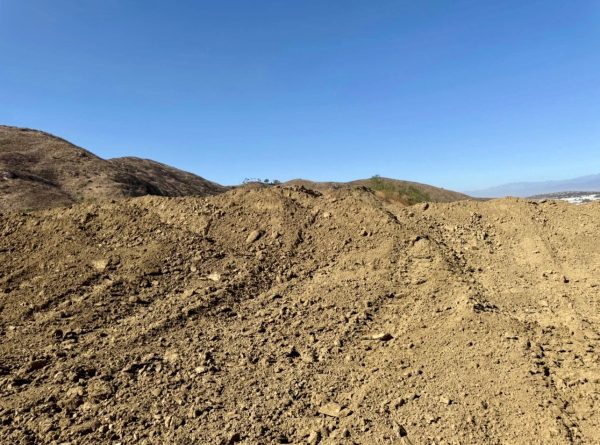
Why Clean Fill Dirt from FST Sand & Gravel is Essential for Southern California Projects Every great project, whether it’s a sprawling new patio, a perfectly level lawn, or the very foundation of a building, starts from the ground up. But beneath the surface of these impressive final products lies a crucial, often overlooked hero:&hellip